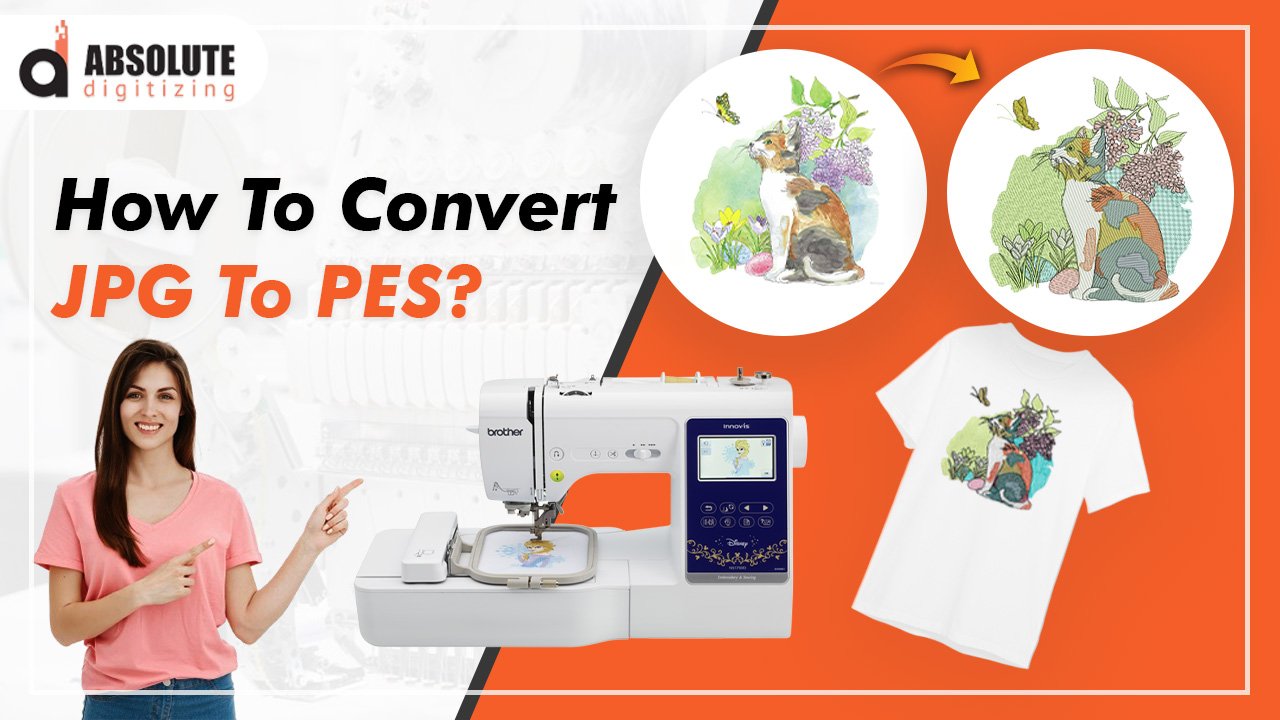
You’ve got a perfect image—maybe a logo, a family photo, or a custom design—and you’re imagining how great it would look stitched onto a hat, bag, or jacket. But how do you turn that JPG into an embroidery file your machine can actually use? Converting a regular image to a PES file (the format used by Brother and other home embroidery machines) isn’t as simple as changing the file extension. It requires digitizing—translating colors and shapes into stitches a machine can follow.
Whether you’re a hobbyist or a small business owner, learning this process opens up endless possibilities for custom embroidery. Here’s everything you need to know to convert image to PES file.
Why Convert JPG to PES?
First, why bother with this conversion at all? Unlike printed designs, embroidery adds texture and dimension to your project. A well-digitized design lasts longer than prints (no cracking or fading after washes) and gives a professional, high-end look. The PES format is specifically designed for embroidery machines, telling them exactly where to place each stitch, what colors to use, and in what order.
The Basics of Embroidery Digitizing
Digitizing isn’t just about making an image machine-readable—it’s about optimizing it for stitching. A good digitizer considers:
- Stitch types (satin for outlines, fill stitches for large areas)
- Density (too many stitches can make fabric stiff; too few can look sparse)
- Underlay (foundation stitches that prevent puckering)
- Pull compensation (adjusting for fabric stretch)
If you’ve ever tried stitching a complex photo directly from a JPG without digitizing, you’ve probably seen the mess that results—gaps, thread breaks, or a blurry, unrecognizable design. Proper digitizing fixes all that.
How to Convert JPG to PES: Your Options
There are three main ways to turn a JPG into a PES embroidery file:
1. Use Auto-Digitizing Software
Programs like SewArt, Embrilliance, or Hatch Embroidery offer auto-digitizing features where you upload a JPG, tweak settings, and let the software convert it into stitches. This works okay for simple designs (like bold logos or text) but often struggles with photos or detailed artwork.
Pros: Fast, affordable, good for beginners.
Cons: Limited control; complex designs may need manual fixes.
2. Hire a Professional Digitizer
If you need flawless results (like for a business logo or intricate artwork), a professional digitizer can manually map out stitches for the best outcome. Websites like Etsy, Fiverr, or specialized digitizing services offer this for $10–$50 per design.
Pros: Highest quality, saves time, ideal for complex images.
Cons: Costs more, requires waiting for the finished file.
3. Learn Manual Digitizing
For full creative control, you can learn to digitize yourself using software like Wilcom, Hatch, or Brother’s PE-Design. This takes practice but lets you fine-tune every stitch.
Pros: Complete customization, no ongoing fees.
Cons: Steep learning curve, expensive software.
Step-by-Step: Converting a Simple JPG to PES
Let’s walk through the easiest method—using auto-digitizing software (we’ll use SewArt as an example, but most programs work similarly):
Choose the Right Image
- High-contrast, simple designs work best (think logos with clean edges).
- Avoid photos with gradients or tiny details—they rarely stitch well.
Clean Up the JPG
- Use a tool like Photoshop or free editors (GIMP, Canva) to:
- Remove backgrounds (use transparent PNG if possible).
- Increase contrast so edges are sharp.
- Simplify colors (fewer colors = fewer thread changes).
Import into Digitizing Software
- Open SewArt (or similar), upload your JPG, and use the “Auto-Digitize” tool.
- Adjust settings like stitch density and underlay.
Edit the Design
- Manually clean up any weird stitches or gaps.
- Resize if needed (embroidery designs can’t easily scale up/down like prints).
Export as PES
- Save the file in PES format (or your machine’s specific format).
Test Stitch!
- Always stitch on scrap fabric first to check for errors.
Common Mistakes (and How to Avoid Them)
Even with auto-digitizing, things can go wrong. Here’s what to watch for:
- Too Many Details → Simplify your design before digitizing.
- Poor Stitch Direction → Adjust angles so fills look smooth, not streaky.
- Ignoring Fabric Type → Thick fabrics (like denim) need different settings than thin ones (like cotton).
- Skipping the Test Stitch → Never stitch straight onto your final project without testing!
When to Hire a Pro Instead
Auto-digitizing works for basic designs, but some projects need a human touch. Consider hiring a digitizer if:
- Your design has shading or fine details (like portraits).
- You’re stitching on tricky fabric (towels, stretchy knits).
- It’s for business use (a messy logo won’t impress customers).
Free Alternatives for Beginners
If you’re just starting out and don’t want to invest in software yet, try:
- Ink/Stitch (free plugin for Inkscape) – Great for manual digitizing practice.
- Online Converters (like MyEditor) – Quick but low-quality results.
- Trial Versions – Many paid apps offer free trials to test before buying.
Final Tips for Success
- Start simple. A 3-color logo is easier than a full-color photo.
- Watch tutorials for your specific software—small tricks make a big difference.
- Keep a digitizing journal: Note what settings worked (or didn’t) for each project.
The Bottom Line
Converting a JPG to PES isn’t magic, but it’s also not as hard as it seems. With the right tools and a bit of patience, you can turn almost any image into a stitched masterpiece. Whether you auto-digitize, hire out, or learn to do it yourself, the key is testing and tweaking until you get it just right.
So dig out that favorite image, fire up your software, and start stitching—you’re just a few steps away from wearing (or selling) your custom embroidered creation.
