Use moisture- and mold-resistant products in all high-humidity areas. Whether you’re building from scratch or renovating, knowing how to install drywall efficiently can save time, reduce waste, and ensure a high-quality finish. This guide shares expert tips and product recommendations to help professionals and homebuilders alike streamline their drywall projects.
View Projects: pvc board Surabaya
Plan for Precision
Efficient drywall work starts with planning. Measure everything twice, and consider panel size, layout, and joint placement. Full sheets (typically 4×8 ft or 4×12 ft) should be used where possible to reduce the number of seams. Minimize butt joints by running boards horizontally along walls and staggering the seams. Mark locations of electrical boxes and plumbing before lifting panels into place.
Pro Tip: Use drywall planning software or digital layout tools to speed up measurements and optimize panel usage.
Choose the Right Drywall Type
Drywall isn’t one-size-fits-all. Choosing the right type for the job boosts efficiency and avoids costly do-overs.
- Standard Drywall (White Board): Best for most interior walls and ceilings.
- Moisture-Resistant (Green Board): Ideal for bathrooms, kitchens, and laundry rooms.
- Mold-Resistant (Purple Board): Offers extra protection in damp environments.
- Fire-Resistant (Type X): Required by code in garages and areas adjoining living spaces.
- Soundproof Drywall: Great for shared walls in multifamily buildings or office settings.
Using the proper drywall product from the start prevents performance issues down the road.
Tools That Speed Up the Job
Using high-quality tools makes a noticeable difference in drywall installation speed and finish quality. Some essentials include:
- Drywall lifts to hoist and position sheets, especially overhead.
- Cordless screw guns for quick, consistent fastening.
- Drywall routers to cut perfect holes around outlets and fixtures.
Taping knives and corner tools for faster mud application and smooth seams.
Bonus Tip: Consider automatic taping tools if you’re working on large projects. These tools minimize physical labor and dramatically shorten the time needed for taping.
Don’t Skip Surface Prep
A clean, even surface is key to a professional-looking drywall job. Before hanging sheets:
- Check that wall studs or ceiling joists are plumb and level.
- Clear away debris, old adhesive, or screws from prior drywall.
- Use shims to correct framing irregularities.
When drywall panels are fastened to a flawed frame, imperfections will show through and require extra joint compound, sanding, and time.
Fasten for Strength and Speed
Secure drywall with screws, not nails, for better long-term performance. Screws should be spaced about 12 inches apart on the wall studs and slightly closer on ceilings. Be careful not to drive screws too deep, as this can compromise grip and tear the paper layer.
Use a drywall screw setter or auto-feed screw gun for speed and consistency. Always fasten from the center outward to reduce tension and avoid cracking.
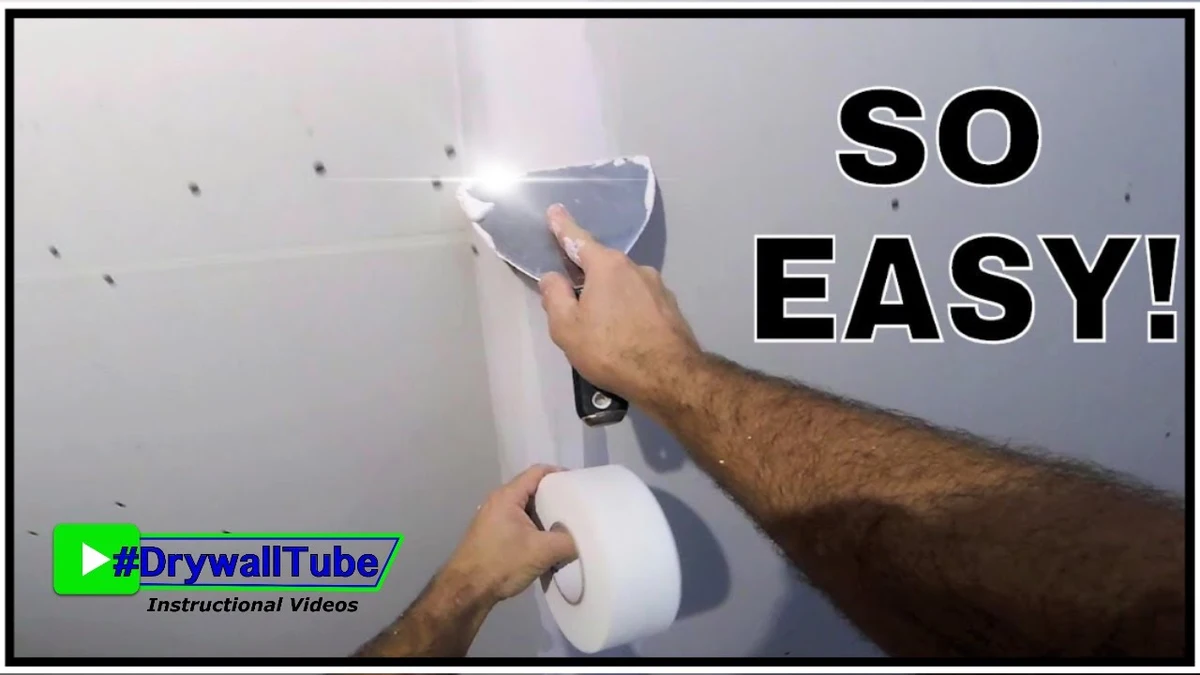
Master the Mud Work
Joint compound application, or “mudding,” can make or break the final look. Work in thin, even layers. Start with a wide knife for seams, and taper out each coat. Gently sand between applications to achieve an even finish. A three-coat system is standard:
- Tape Coat: Apply compound and embed tape.
- Fill Coat: Cover the tape and widen the feathered edge.
- Finish Coat: Smooth out the surface and prepare for sanding.
- Avoid over-sanding, which can damage paper facing and create uneven textures.
- Product Spotlight: Fast-Set Compounds and Lightweight Panels
Time-sensitive jobs benefit from fast-setting joint compounds, which dry quickly and allow same-day finishing. Lightweight drywall panels also reduce labor strain and boost handling speed, especially on ceilings.
Top manufacturers now provide enhanced formulas that prevent sagging, improve adhesion, and generate less dust while sanding. Look for pre-mixed, low-shrinkage options for consistent results.
Moisture and Mold Control
Water damage is one of drywall’s biggest enemies. Always install mold- and moisture-resistant materials in areas with high humidity. Ventilate the space well during and after installation. Consider adding a primer-sealer to the finished drywall to block moisture absorption and prevent microbial growth.
Final Thoughts
Efficient drywall installation combines the right materials, smart planning, and professional-grade tools. By staying organized, choosing the proper products, and applying expert techniques, you can achieve a durable, flawless finish on every project. Whether you’re building homes or commercial spaces, these tips help you work faster without sacrificing quality.