Among the most adaptable and helpful things you could have around the house is waterproof tarpaulin, sometimes referred to as a tarp. Imagine it as a huge, strong sheet meant to shield goods from sun, wind, and water. Although we frequently see it covering vehicles or utilized on building sites, it has many practical applications around your house and within.
It could be used to line a crawl space, shield a woodpile, temporarily fix a leaking roof, or even build a mosquito net. temporary play area for dirty crafts. Ensuring a Tarpaulin performs its function well and lasts a long time depends on proper installation knowledge. A flapping, inadequately attached tarpaulin can rapidly rip and turn useless.
Understanding Your Tarpaulin Needs
Before you buy anything, the first thing to do is to find out precisely what you require the tarp for. This will help you choose the right material in terms of kind, size, and quality. Consider a few questions: Is this intended for a quick fix or a permanent fix? What does it protect against driving rain or a gradual seepage of moisture? Your purchase will be guided by the answers.
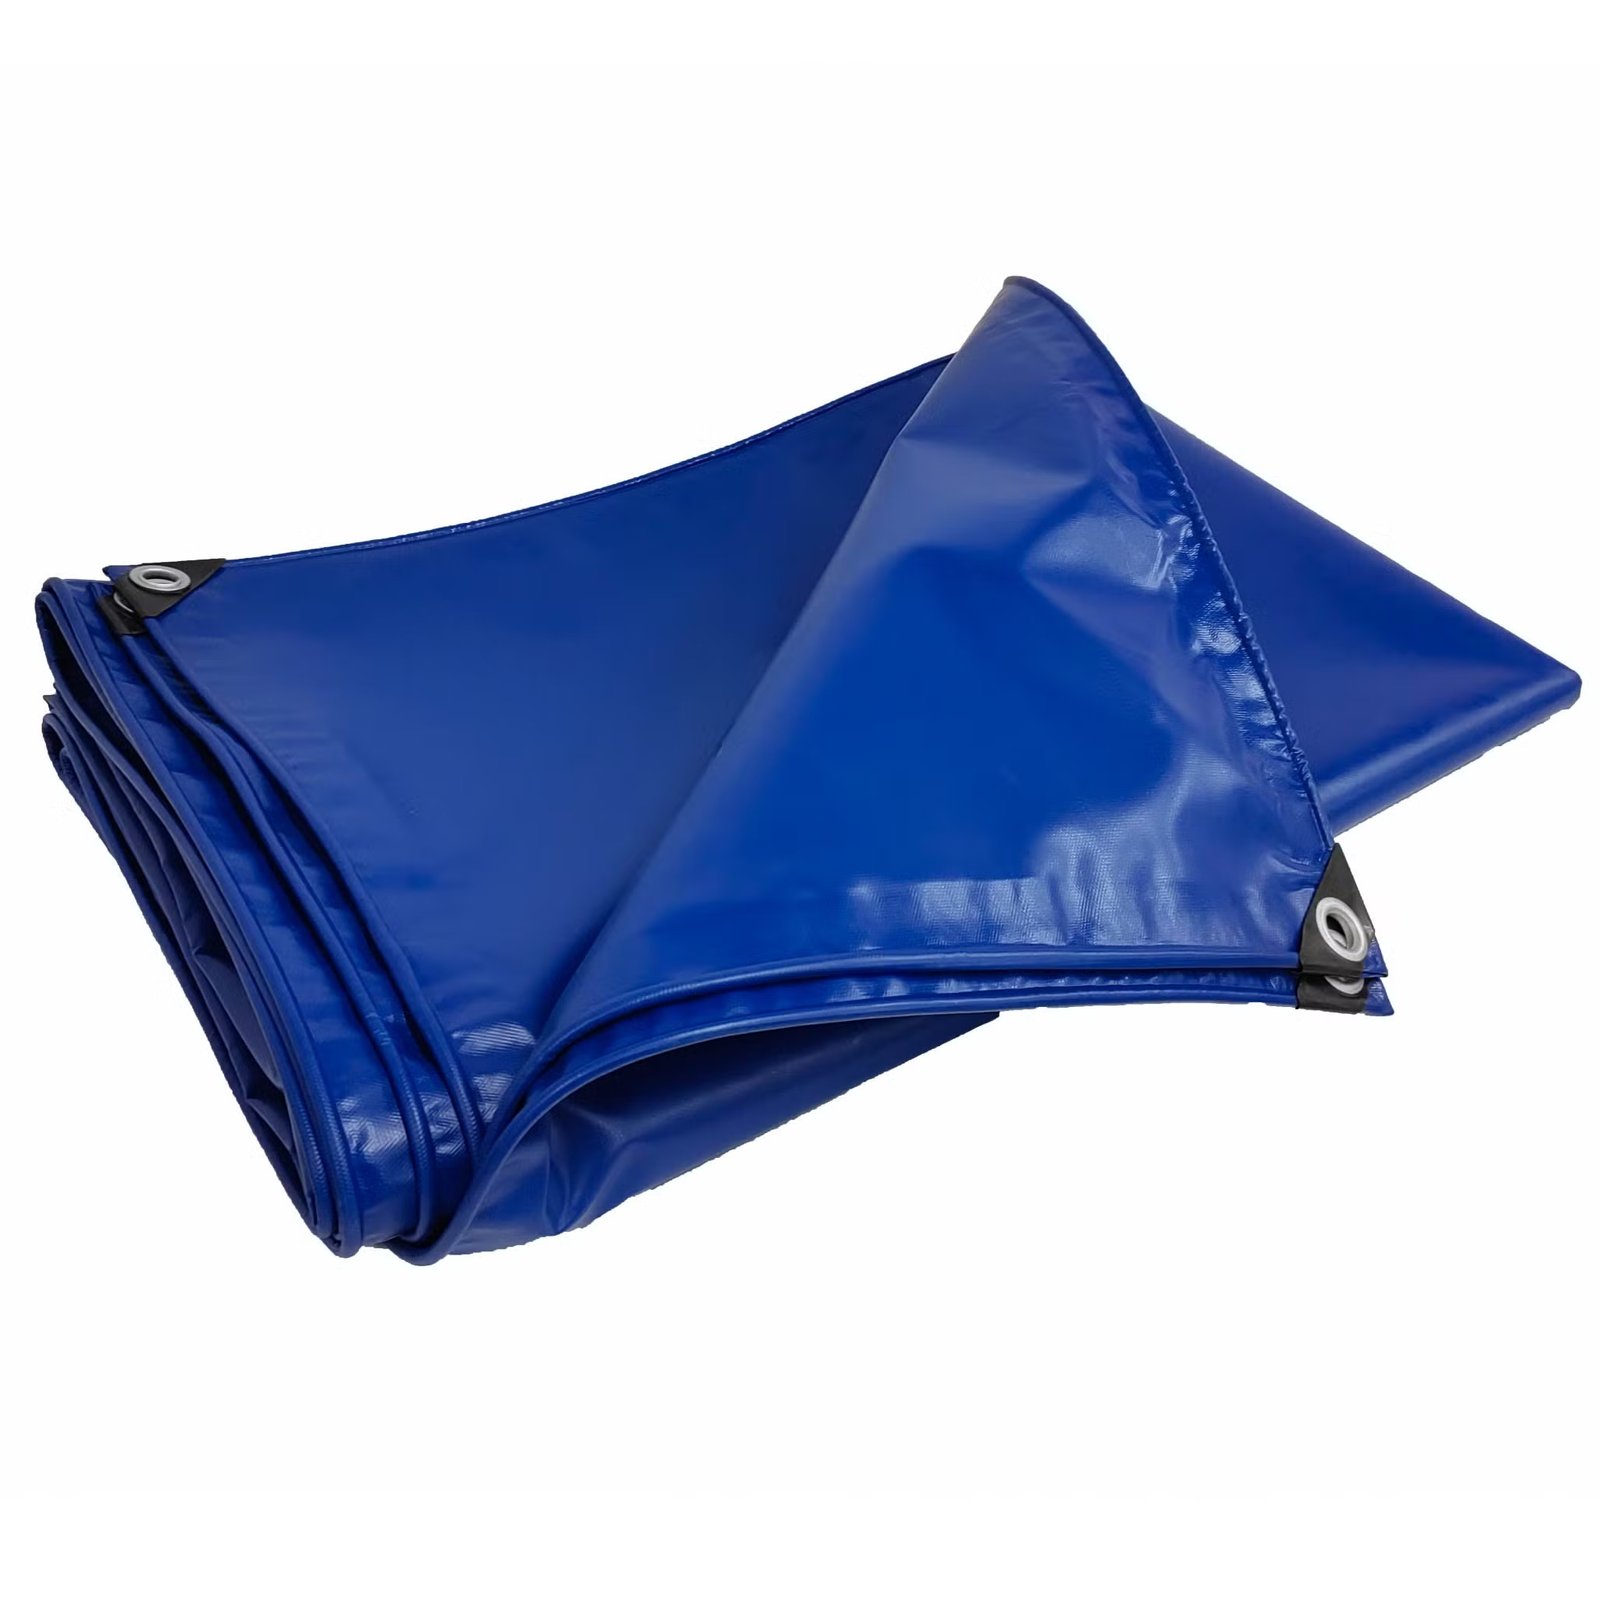
A basic blue poly tarp could be adequate for a brief work such as furniture covering during painting. But for anything that needs to endure the elements for more than a few days or for a vital task like patching a roof, you will wish to put money into a Heavy Duty Tarpaulin. Usually made of reinforced polyethylene with a mesh scrim inside, or even of vinyl or canvas, these are considerably more tear-resistant. and UV damage from the sun.
Selecting the Best Tarpaulin for the Work
Knowing the needs of your project will help you choose the ideal tarp. Material, thickness, and size are the most critical elements. Made of polyethylene, the common blue and green tarps are perfect for brief, light-duty chores. Look for a Heavy Duty Tarpaulin composed of vinyl or high-density polyethylene for more demanding uses.
A tarp’s thickness is expressed in mils, which are thousandth of an inch. Whereas a really heavy-duty tarp will be 12 mils or more, a typical one can be 6 or 8 mils thick. Always buy a tarp bigger than the space you have to cover for size. To have a suitable overhang and adequate fabric to hold it securely, you need more material on all sides. A taut tarp under tension is one; a little slack is your friend.
Gathering Your Tools and Materials
Installing a tarpaulin well doesn’t need a lot of expensive tools. Equally crucial as the tarp itself are the correct accessories. If you are working on a roof or at a high altitude, you will need a solid ladder. There are several ways you can make sure the tarp stays in place. For brief employment, bungee cords with balls are ideal since they offer tension and flexibility. A decent hammer, U-shaped nails or staples for wood surfaces, and heavy-duty grommets if your tarp needs extra reinforcement points will help you achieve a more permanent hold. Under great stress, the grommets are strong but also possible failure sites; thus, never count on them to support the whole tarp.
Preparing the Surface for Your Tarpaulin
Ensuring your installation is successful depends somewhat on some planning. First make sure the place the tarp will lie is free. Remove any stray twigs, trash, or sharp items that can pierce the material if you are roofing. Try to level it out as much as you can if you’re covering something on the ground, like a crawl space’s dirt floor.
It is a good idea to cushion surfaces with sharp edges, such as the corner of a wooden shed or a shattered window frame. One could use a folded rag, a scrap of carpet, or an old blanket. This basic action keeps wear and tear at bay and can stop a little hole from turning into a big split.
The Correct Way to Drape and Position the Tarp
And now the climax: positioning the tarp. The aim is to steer water away from whatever you want to preserve. This is the most important rule of the whole process. When covering a roof, make sure the tarp goes down from the roof’s peak all the way over the eaves.
Never spread a tarp sideways as this will let water gather and finally leak out. Ensure the tarp is centered above the region you wish to cover, with equal overhang all around. Having at least one to two feet of overhang is a decent guideline. This reduces the likelihood of wind-driven rain getting under.
Securing the Tarpaulin Firmly and Safely
Your installation will then be secure here. Start by loosely securing the corners first. Do not tighten them just yet. After the four corners are provisionally in place, move along the sides and insert fasteners every two feet. Run ropes through the grommets and secure them to sturdy anchor points if you are using them.
Should you be using bungee balls, connect them in a crisscross pattern to produce downward pull. Staples or U-nails can be used for a wooden construction, but take care not to drive them straight through the grommet as this might weaken it. Attach the tarp’s material close to the grommet instead. Not only at the grommet points but also throughout the full tarp, the trick is to spread the tension evenly.
Important Tips for a Long-Lasting Installation
With a little maintenance, a properly fitted Heavy Duty Tarpaulin may easily last for months, even years. Checking on it regularly, particularly after stormy weather, is one of the finest actions you can take. Check for new wear sites and tighten any slack bungees or ropes. If you see a little tear, fix it right away with a good waterproof tape or a tarp repair kit before it gets worse. Remember that, even though a tarp is waterproof, it isn’t a long-lasting construction material. Sunlight exposure over time will cause UV degradation, which will degrade it. Eventually, even the best tarpaulin will break and require replacement. Read More Articles
Conclusion
For any homeowner, knowing how to correctly fit a waterproof tarpaulin is a basic but extremely important ability. It helps you to properly handle crises, run projects, and safeguard your possessions. You choose the appropriate sort of Tarpaulin for the task, get the surface ready, drape it to drain water, and fasten it with uniform tension transform a basic vinyl or plastic sheet into a dependable shield.
Your installation will determine whether you select a simple model or a strong Heavy Duty Tarpaulin will be successful. Therefore, the next time you have to store goods outside or a leak starts, you can grab a tarp with assurance and know precisely how to keep your home dry and safe by putting it to work.