Lead exposure can pose serious health risks, particularly for children and pregnant women. If you live in an older home or are concerned about potential lead contamination, performing a DIY lead test can provide peace of mind. With a little effort and the right tools, you can test the surfaces and items in your home for lead without hiring a professional. In this post, we will guide you through the steps to conduct a safe and effective DIY lead test, ensuring you can take the necessary precautions for your family’s health.
What is Lead and Why is it Dangerous?
Before diving into the process of a DIY lead test, it’s essential to understand why lead is a concern in the first place. Lead is a toxic heavy metal that was commonly used in household products, such as paint, plumbing, and even toys, before its harmful effects were well-known. Lead poisoning occurs when lead builds up in the body over time, and it can result in a range of health problems, including developmental delays in children, kidney damage, and in severe cases, death.
Homes built before 1978 are particularly at risk, as lead-based paints were widely used before that year. Even though lead-based paints were banned, remnants of it can still exist in older homes, particularly on walls, windows, and doors.
Understanding the Need for a DIY Lead Test
If you suspect that your home might have lead contamination, it’s crucial to take action. A DIY lead test can help determine whether or not lead is present in your home’s paint, soil, or other materials. While professional testing is an option, many homeowners opt for a DIY lead test because it is a more cost-effective and immediate solution.
When Should You Perform a DIY Lead Test?
There are several situations in which performing a DIY lead test is advisable:
- Home Renovations: If you are remodeling or renovating an older home, testing for lead before disturbing painted surfaces is crucial. Renovation work can cause lead dust or chips to become airborne, increasing the risk of exposure.
- Child’s Health: If you have young children who frequently put their hands or other objects in their mouths, you may want to test areas they are most likely to touch, such as windowsills or door frames.
- Peeling or Chipping Paint: If you notice paint peeling or chipping, especially in older homes, this is a clear sign that a DIY lead test may be necessary.
Types of Materials You Can Test
A DIY lead test can be used on a variety of materials found in your home. Common materials that may contain lead include:
- Paint: The most common source of lead in older homes is lead-based paint.
- Soil: Lead dust can settle in the soil, particularly in homes near roads or industries that used leaded gasoline.
- Plumbing Fixtures: Pipes and plumbing fixtures in older homes might contain lead, especially if they were installed before the 1980s.
- Toys and Furniture: Many older toys or furniture items made before regulations were established may contain lead-based paint or other lead-containing materials.
How to Perform a DIY Lead Test
Now that you understand the significance of lead testing, let’s go over the practical steps to perform a DIY lead test.
Step 1: Gather Your Materials
For an effective DIY lead test, you’ll need the following supplies:
- Lead test kits: These are available in most hardware stores and online. Many of these kits are designed for testing paint, soil, or even dust.
- Safety gear: Wear gloves and a mask to prevent inhaling lead dust during testing.
- Cleaning materials: If testing paint, it’s essential to clean the area before starting. A wet cloth can help remove dust or debris from the surface.
Step 2: Prepare the Area for Testing
Before using your DIY lead test, ensure that the area you’re testing is clean. If you are testing a painted surface, wipe it down with a damp cloth to remove dust or dirt that could interfere with the test results.
If you’re testing soil or dust, make sure you take samples from various areas to get a more accurate reading.
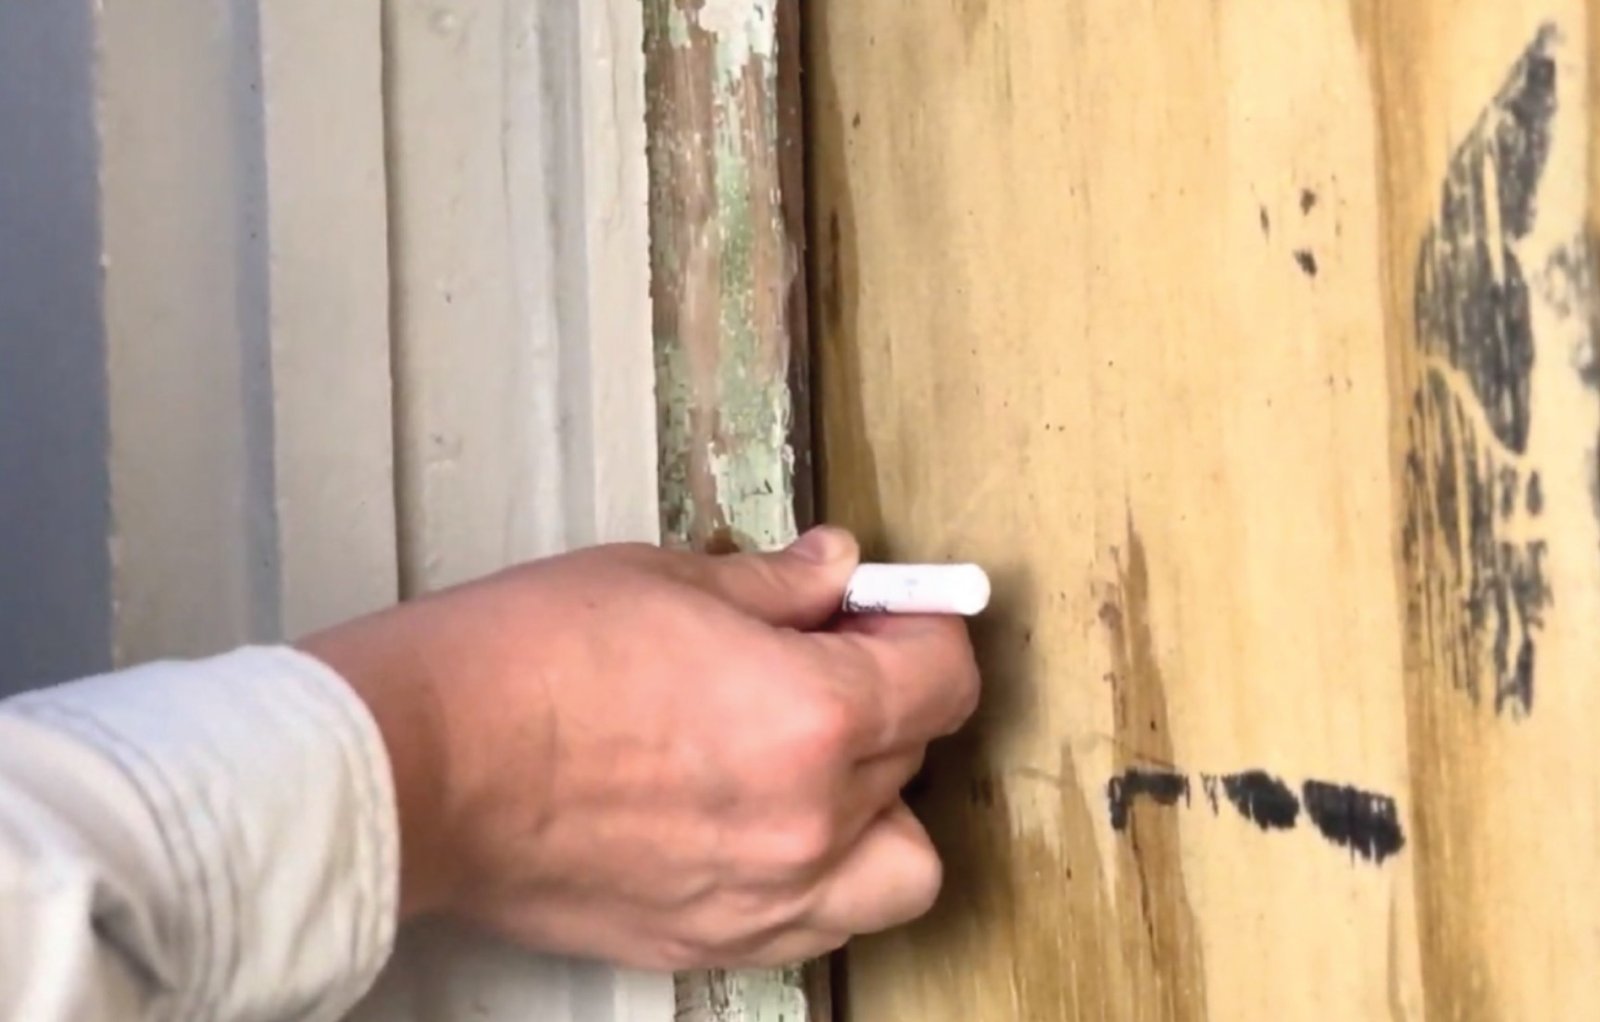
Step 3: Follow the Instructions on the Test Kit
Each DIY lead test kit will have detailed instructions. Typically, you’ll need to apply a solution or test stick to the surface in question, which will react with lead if it’s present. Some kits will change color if lead is detected, while others may require you to send a sample to a laboratory.
Be sure to follow the instructions carefully to ensure accurate results. Many kits will require you to wait for a few minutes after applying the solution before reading the results.
Step 4: Interpret the Results
After completing the DIY lead test, the next step is interpreting the results. If your test shows a positive result for lead, it’s important to take the necessary precautions to protect your family. If you have concerns about the severity of the lead exposure, consider contacting a professional to confirm the results.
Step 5: Clean Up and Take Precautions
If the test confirms the presence of lead, you’ll need to take immediate action to reduce exposure. This could include:
- Cleaning up lead dust: Use a wet mop or cloth to clean the affected area.
- Painting over lead-based paint: If lead-based paint is found, covering it with a non-lead-based paint can help prevent further exposure.
- Sealing areas with lead: In some cases, it may be safer to seal off areas with lead paint and avoid disturbing them.
Important Safety Considerations When Performing a DIY Lead Test
While a DIY lead test can provide valuable information about the safety of your home, it’s important to keep certain safety precautions in mind during the process.
Avoid Disturbing Lead-Based Materials
If you are testing painted surfaces or other materials that could contain lead, avoid scraping, sanding, or disturbing the materials while performing the DIY lead test. This can release lead dust into the air, which can be inhaled and cause serious health risks. Always test surfaces gently without disturbing the material.
Protect Your Family from Lead Exposure
If your DIY lead test reveals lead in your home, it’s essential to take immediate steps to minimize exposure. Make sure to keep children and pets away from areas with lead-based materials. Use plastic sheeting and tape to cover contaminated areas if necessary.
Professional Testing
While a DIY lead test can provide an initial indication of lead, it’s important to note that these tests may not always be 100% accurate. If you suspect significant lead contamination, consider contacting a professional to conduct a more thorough evaluation.
Conclusion: The Importance of Lead Testing
Performing a DIY lead test is an essential first step in protecting your family from the dangers of lead poisoning. Whether you’re renovating your home or simply want to ensure the safety of your living environment, a DIY lead test can give you the knowledge you need to make informed decisions about your home’s safety. Keep in mind that lead exposure can have serious long-term health consequences, so it’s better to err on the side of caution when testing for lead in your home.
By following the guidelines above, you can confidently conduct a DIY lead test in your home, ensuring that you are taking the necessary precautions to create a safe environment for yourself and your family.
Also, read this: