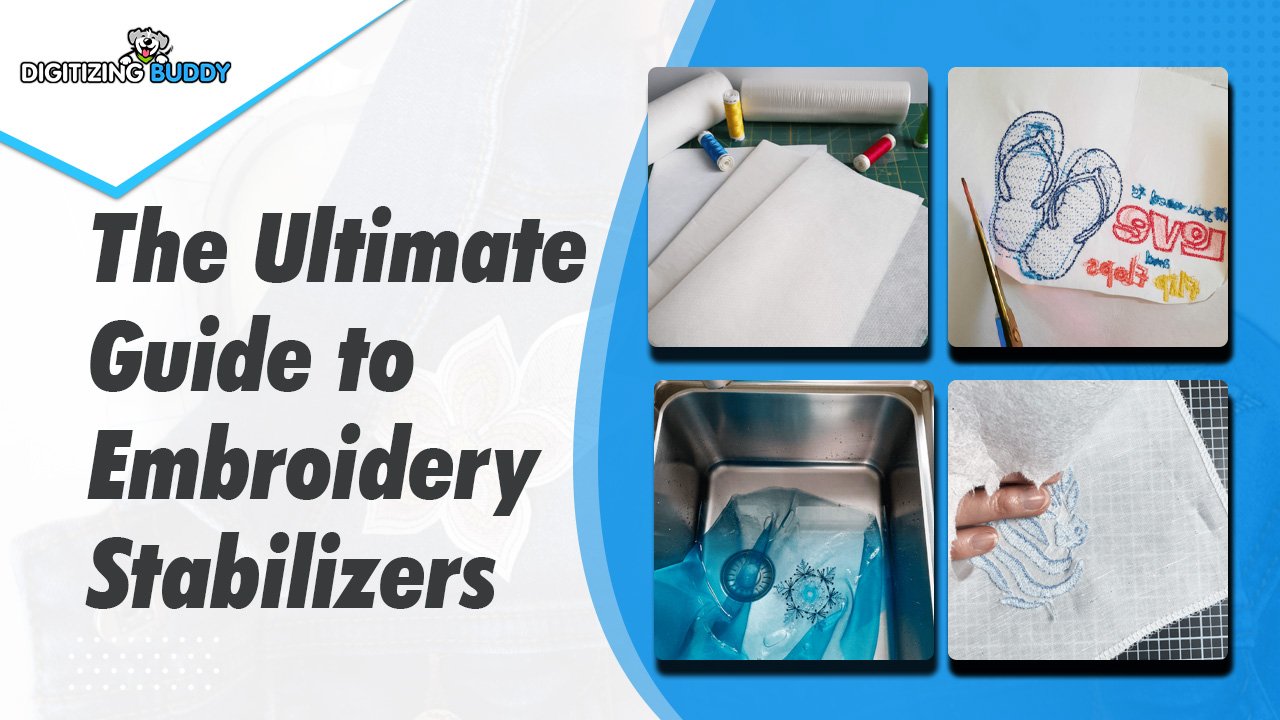
When it comes to embroidery, most people focus on the obvious elements—the design, the thread colors, maybe even the type of fabric. But there’s an unsung hero that makes or breaks every embroidery project: the stabilizer. This often-overlooked material works behind the scenes to ensure your stitches lay flat, your fabric doesn’t pucker, and your design comes out looking crisp and professional.
Think of stabilizers as the foundation of a building. Without a solid base, even the most beautiful structure will crumble. The same goes for embroidery—skip the stabilizer, and you’ll end up with a distorted, messy design no matter how perfect your digitizing or how expensive your machine. Find out more here about understanding embroidery stabilizers.
The Role of Stabilizers in Embroidery
Stabilizers serve three crucial purposes:
- They prevent fabric distortion – Embroidery involves hundreds or thousands of stitches pulling on your fabric. Without stabilization, this tension causes warping, puckering, and misaligned designs.
- They support the fabric during stitching – Delicate or stretchy fabrics especially need that extra layer to maintain their shape under the needle’s movement.
- They improve stitch definition – A good stabilizer helps each stitch sit properly on the fabric surface rather than sinking in or looking uneven.
Types of Stabilizers and When to Use Them
Not all stabilizers are created equal. Choosing the wrong type can be just as bad as using none at all. Here’s a breakdown of the main categories:
Cutaway Stabilizers
These are the heavy-duty anchors of the embroidery world. As the name suggests, you trim away the excess after stitching, leaving some material behind permanently.
Best for:
- Stretchy fabrics (knits, jersey)
- Designs with dense stitching
- Items that will undergo frequent washing (like apparel)
Why they work: The permanent support prevents future distortion from fabric movement or washing.
Tearaway Stabilizers
These provide temporary support during stitching that you tear away afterward, leaving no residue.
Best for:
- Stable, woven fabrics (denim, twill)
- Light to medium-density designs
- Projects where you want no stabilizer visible
Watch out for: They’re not great for stretchy fabrics or complex designs—the tearing process can distort stitches.
Washaway Stabilizers
These magical sheets dissolve in water, leaving nothing behind.
Best for:
- Sheer or delicate fabrics (lace, organza)
- Freestanding lace designs
- Projects where you can’t have any stabilizer remnants
Pro tip: Some come as sticky “toppers” that help control thread loops on tricky fabrics like towels.
Heat-Away Stabilizers
Similar to washaway, but these disappear with heat instead of water.
Best for:
- Fabrics that can’t get wet
- Quick projects where you don’t want to wait for dissolving
Choosing the Right Stabilizer: A Practical Guide
Picking the perfect stabilizer isn’t rocket science, but it does require considering a few factors:
- Fabric type – The more unstable the fabric (stretchy, delicate, or slippery), the more stabilization it needs.
- Design complexity – Dense designs with lots of stitches need heavier stabilization than simple outlines.
- End use – Items that will be washed frequently need more permanent stabilization.
- Hooping method – Some stabilizers work better with certain hooping techniques.
A quick cheat sheet:
- T-shirts: Cutaway (for durability) or tearaway (for less bulk)
- Hats: Medium-weight cutaway
- Towels: Washaway topper plus tearaway base
- Denim jackets: Tearaway
- Baby onesies: Light cutaway
Common Stabilizer Mistakes (And How to Fix Them)
Even experienced embroiderers sometimes get stabilization wrong. Here are the most frequent pitfalls:
Using the Wrong Weight
Problem: Your design is puckering or your fabric is stiff as a board.
Solution: Match stabilizer weight to your fabric and design density.
Skipping the Topper
Problem: Your stitches are sinking into thick or textured fabrics like fleece.
Solution: Add a washaway topper to keep stitches on the surface.
Improper Hooping
Problem: Your fabric is shifting despite using stabilizer.
Solution: Ensure both fabric and stabilizer are taut in the hoop without overstretching.
Removing Stabilizer Too Aggressively
Problem: You’re distorting stitches when tearing away stabilizer.
Solution: For tearaways, score around designs first and tear gently.
Advanced Stabilization Techniques
Once you’ve mastered the basics, try these pro moves:
Layering Stabilizers
For extra-challenging projects (like embroidering on stretchy knits), use two layers—maybe a cutaway base with a washaway topper.
Floating Delicate Fabrics
For materials that can’t be hooped (like finished garments), hoop just the stabilizer and “float” the fabric on top.
Custom Trimming
Instead of removing all excess stabilizer, carefully trim close to dense designs to maintain support while reducing bulk.
The Future of Stabilization
Innovation hasn’t bypassed this humble embroidery essential. Recent developments include:
- Smart stabilizers that change properties with temperature
- Eco-friendly options made from sustainable materials
- Printable stabilizers that allow for precise placement guides
Why Stabilizers Deserve Your Attention
It’s easy to treat stabilizers as an afterthought, but professionals know they’re just as important as thread quality or machine maintenance. The difference between an amateur-looking project and a polished, professional piece often comes down to stabilization.
Next time you’re setting up an embroidery project, give your stabilizer choice the same consideration you’d give to thread colors or design placement. Your stitches (and your frustration levels) will thank you.
Remember: Great embroidery isn’t just about what shows on top—it’s about what’s holding everything together underneath. That’s the magic of stabilizers. They might not be glamorous, but they’re absolutely essential for stitch quality that impresses.
